How to back up your computer: Windows and macOS options compared
In short
To back up your computer, combine a local backup to an external drive (File History on Windows, Time Machine on macOS) with a cloud copy (OneDrive, iCloud or a dedicated backup service). Keep at least one copy away from your desk, and test a restore every few months so you know it works.
Most people think about backups only after something goes wrong: a laptop slides off a table, a drive stops spinning, or a ransomware message replaces the family photo folder. I have covered consumer hardware for more than a decade, and the pattern in reader emails is almost always the same. The person owned an external drive, meant to set it up, and never did.
The good news is that both Windows and macOS ship with capable backup tools, and neither takes more than about 15 minutes to configure. This guide explains what each option does, where they fall short, and how to build a setup that survives the common disasters.
What does backing up a computer actually mean?
A backup is a separate copy of your data that you can restore if the original is lost, damaged or encrypted. The word gets used loosely, so it helps to separate three things that are often confused.
- File backup: copies of your documents, photos and other personal files, often with older versions kept so you can roll back changes.
- System image or clone: a complete copy of the whole drive, including the operating system, apps and settings. It lets you restore the machine exactly as it was.
- Cloud sync: services such as OneDrive, iCloud Drive, Google Drive or Dropbox that keep a folder identical across devices. Sync is convenient, but if you delete or corrupt a file, that change also syncs everywhere. Version history and recycle bins soften this, but sync alone is not a full backup.
A useful backup has three qualities: it runs automatically, it keeps multiple versions over time, and at least one copy lives somewhere other than your computer.
The 3, 2, 1 rule
The most widely cited guideline in backup planning is the 3, 2, 1 rule: keep three copies of your data, on two different types of storage, with one copy offsite. For a home user this usually means the files on your computer, a copy on an external drive, and a copy in the cloud. It sounds like overkill until a burst pipe takes out both the laptop and the drive sitting next to it.
How do you back up a Windows PC?
Windows offers several overlapping tools. Which ones you see depends on whether you run Windows 10 or Windows 11 and which updates you have installed.
Windows Backup and OneDrive
Recent versions of Windows 11 include an app called Windows Backup. It saves your Desktop, Documents, Pictures and other main folders to OneDrive, Microsoft's cloud storage, and also remembers installed Store apps, settings and saved Wi Fi networks. When you sign in to a new PC with the same Microsoft account, it can restore much of your setup.
The catch is space. A free Microsoft account includes 5 GB of OneDrive storage, which fills up quickly with photos. A Microsoft 365 subscription raises that to 1 TB per person. Windows Backup also does not create a full copy of your drive, so you will still need to reinstall desktop programs after a failure.
File History
File History is the older local tool, still available in Control Panel on both Windows 10 and Windows 11. It copies files in your user folders to an external drive or network location every hour by default and keeps previous versions. To turn it on:
- Connect an external drive.
- Open Control Panel and go to System and Security, then File History.
- Select the drive and choose Turn on.
- Under Advanced settings, set how often to save copies and how long to keep them.
To recover a file, right click the folder that contained it, choose Restore previous versions, or open File History and browse back through the timeline.
System image backup
Windows still includes a legacy tool called Backup and Restore (Windows 7), which can create a system image of the entire drive. Microsoft no longer develops it, and it can be unreliable on newer hardware. If you want a full drive image on Windows, a dedicated third party imaging program is usually the more dependable choice.
How do you back up a Mac?
Apple's approach is simpler because there is one main local tool and one main cloud service.
Time Machine
Time Machine is the backup feature built into macOS. Once you point it at an external drive or a compatible network share, it backs up automatically and keeps hourly backups for the past 24 hours, daily backups for the past month, and weekly backups for all earlier months until the drive fills up. It then deletes the oldest backups to make room.
- Connect an external drive. macOS may offer to use it for Time Machine right away.
- If not, open System Settings, then General, then Time Machine.
- Click Add Backup Disk, choose the drive and allow macOS to format it if asked.
- Turn on encryption when prompted if the drive will ever leave your home.
Time Machine covers your files, apps and settings. On a new or erased Mac, Migration Assistant can pull everything back from a Time Machine backup during setup, which is the closest thing to a full restore most Mac owners will need.
iCloud Drive and iCloud Photos
iCloud stores your Desktop and Documents folders, photos and app data on Apple's servers. Like OneDrive, it is primarily a sync service, so deletions carry across devices, although recently deleted files and photos can be recovered for a limited window, typically 30 days. Free accounts get 5 GB, and paid iCloud+ plans add more.
Bootable clones
Apple's security changes on Apple silicon Macs have made fully bootable clones harder to create and less useful than they once were. Third party tools such as Carbon Copy Cloner and SuperDuper can still make complete copies of your data volume, which some people keep as a second local backup alongside Time Machine.
Windows vs macOS backup: how do the options compare?
The table below summarises the built in tools on each platform.
| Feature | Windows | macOS |
|---|---|---|
| Main local tool | File History | Time Machine |
| What the local tool covers | Personal files in user folders | Files, apps and settings |
| Default schedule | Hourly, adjustable | Hourly, automatic |
| Built in cloud option | Windows Backup with OneDrive | iCloud Drive and iCloud Photos |
| Free cloud storage | 5 GB | 5 GB |
| Full system restore | Legacy system image tool or third party software | Migration Assistant from Time Machine |
| Encryption for local backups | Use BitLocker on the backup drive | Built into Time Machine setup |
In practice, Mac users get a more complete local backup out of the box. Windows users get stronger cloud integration through OneDrive but usually need extra software for a full system image.
What drive or cloud service do you need?
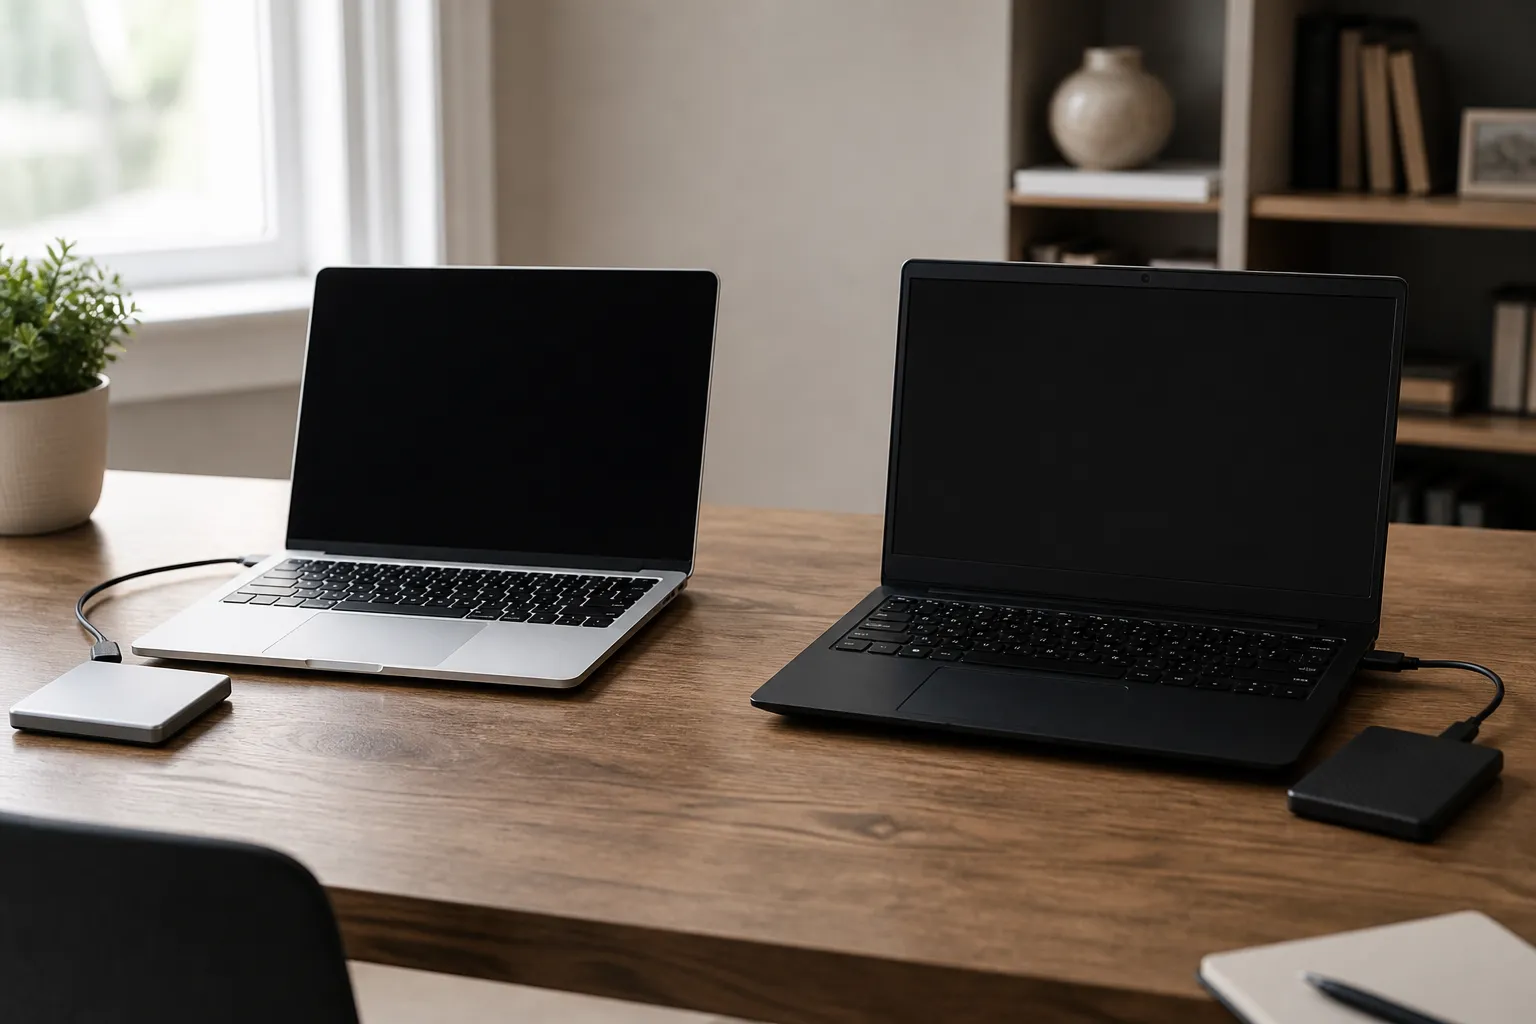
For a local backup, a practical rule of thumb is an external drive with roughly twice the capacity of the data you currently store. If your laptop holds 400 GB of files, a 1 TB drive gives room for versions and growth. Spinning hard drives offer the most capacity per dollar. Portable SSDs are faster, quieter and better suited to a laptop bag.
For the offsite copy, you have three realistic routes:
- The cloud storage you already pay for: OneDrive with Microsoft 365, or an iCloud+ plan, works well if your data fits within the quota.
- A dedicated backup service: companies such as Backblaze or IDrive back up your whole computer continuously and keep versions. They are designed for recovery rather than sharing.
- A second drive you rotate: keep one external drive at the office or with a relative and swap it every few weeks. It costs nothing ongoing but depends on your discipline.
Protecting against ransomware
Ransomware is malicious software that encrypts your files and demands payment to unlock them. It can also encrypt any drive that is connected when it runs. That is why at least one backup should be disconnected or held by a service that keeps older versions you can roll back to.
How do you know your backup actually works?
A backup you have never restored from is a hope, not a plan. Every few months, take ten minutes to check.
- Confirm the last successful backup date in File History, Time Machine or your cloud service.
- Pick a random file from a few weeks ago and restore it to a new location.
- Open the restored file to make sure it is not empty or damaged.
- Check free space on the backup drive so old versions are not being trimmed sooner than you expect.
Also write down where your backups live, your cloud account email and any encryption passwords, and store that note somewhere other than the computer. Losing the password to an encrypted backup drive is the same as losing the drive.
A simple setup that covers most people
If you want one recommendation: turn on File History or Time Machine with an external drive today, then add a cloud copy through OneDrive, iCloud or a dedicated backup service. That gives you fast local recovery for everyday mistakes and an offsite copy for theft, fire or ransomware. Test a restore once a quarter, and you will be in better shape than the majority of computer owners I hear from after things go wrong.
Frequently asked questions
Written by
Priya NatarajanSenior technology reporter, 11 years covering consumer hardware and startups
Priya Natarajan has reported on personal computing, AI products and early stage funding since 2013, starting at a regional business daily before moving to online tech news. She has covered more than 150 startup funding rounds and tested over 80 laptops and desktops for hands on reviews. She holds a master's degree in journalism and a bachelor's degree in computer science.